![]()
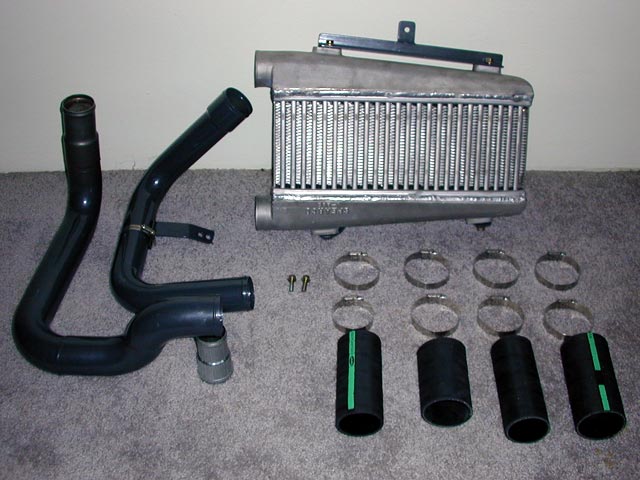
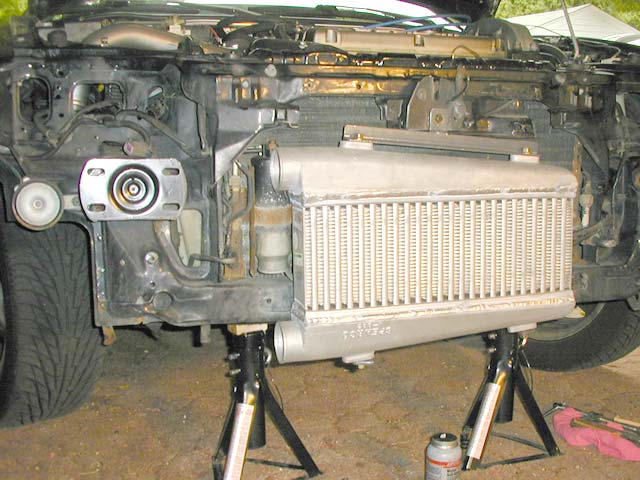
Includes 2 1/4" lower piping and 2 1/2" upper piping to and
from the stock I/C location. Uses the Griffin/Spearco 18" x
6" inch top to bottom flow intercooler. Minor non-structural trimming
of the bumper reinforcement necessary. Does not interfere with the
oil cooler, A/C system, or power steering lines. You will have to
toss the right fog light. The lower intercooler end tank hangs down
below the bumper cover about 1".
|
|
Receiving the FMIC Kit |
|
|
Contents: |
|
Next comes the removal of the bumper fascia (follow the directions found in the factory manual |
|
|
|
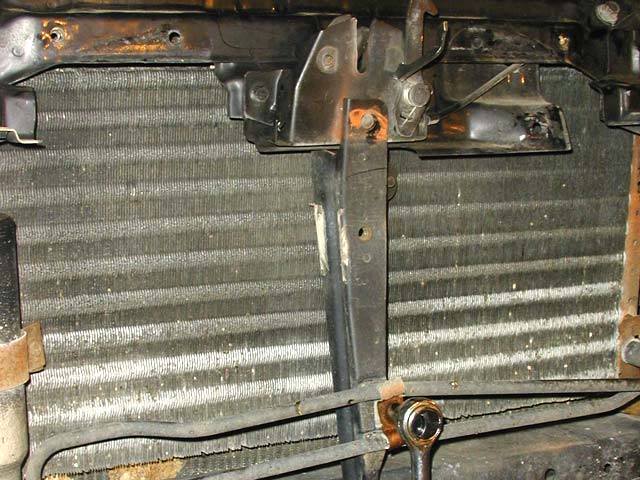
Remove the large black plastic air ducting in front of the radiator. If you have some extra time and want to get trick, you can spend a day trimming the duct to channel air flow up over the intercooler and to the radiator once you are finished. |
|
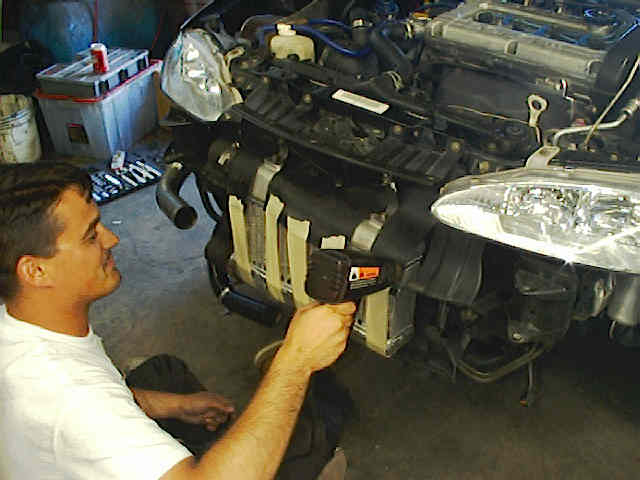
Remove the stock intercooler (follow the directions found in the factory manual. Some oil in the intercooler piping is normal. It comes from the valve cover through the hose that runs to the turbo inlet. |
|
|
|
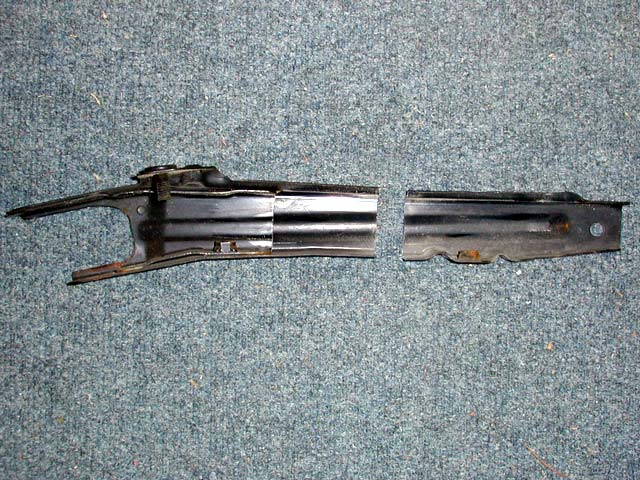
Remove the hood latch support. The intercooler becomes the new hood latch support. |
|
|
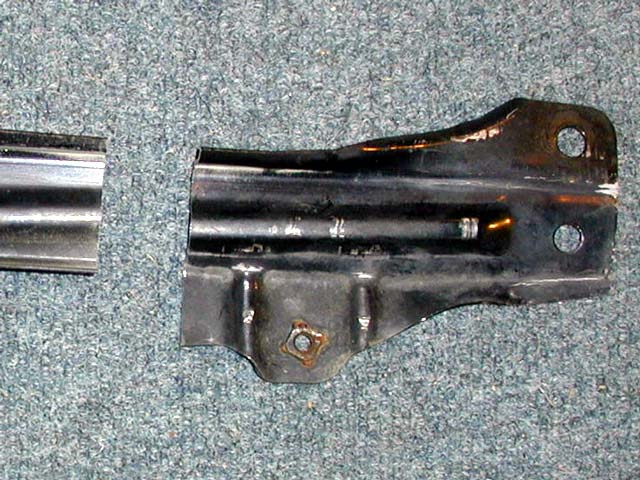
The '90 Power Steering cooler line will get zip tied to the oil cooler bracket. Use a piece of hose, slit the hose and slide it over the pipe to protect it from abrasion where it makes contact. |
|
|
The '91-94 Power Steering cooler lines can be left supported by leaving approximately the lower 1/2 of the hood latch support |
|
|
The lower half can now be flattened down to secure and to hold the power steering lines away from the intercooler |
|
|
Remove the passenger side fog light and bracket. It will no longer fit. You should have removed it long ago to get more air flow to your side mount I/C. |
|
|
Check to be sure that the inside of the intercooler is clean. If possible blow air through it in reverse direction. We do our best to ensure that they are free from contamination when they are shipped. While you have it and are showing it off to your buddies, there is a possibility that junk can get in there. Don't take a chance. |
|
|
Bolt the supplied brackets to the intercooler. The threads that are tapped into the intercooler end tanks are 10mmx 1.25 |
|
|
Bolt the intercooler to the bottom hole of the hood latch and bolt the lower brackets to the bottom of the radiator support. |
|
|
Check that all bolts are tight. Check for proper hood alignment. The height of the intercooler will set the height of the hood. You may need to tweak the lower brackets to make up for any variance between cars. Many we have seen (OK, we are a little rough on the equipment) are pushed up in this area from bottoming out on things. |
|
|
Connect the upper piping and hose connections from the top of the intercooler to the stock or upgraded upper intercooler pipe. You will have specified what size your upper intercooler piping was at the time of your order. By default, we supply a 2 1/2" pipe directed up through the inner fender area. If you have a smaller 2 1/4" upper intercooler pipe, we adapt the end of our pipe to match. |
|
|
The hose we supplied may be a little long. We try to err on the long side if possible to help make up for all the different possibilities out there. If the hose is too long, just trim it to the correct length. |
|
|
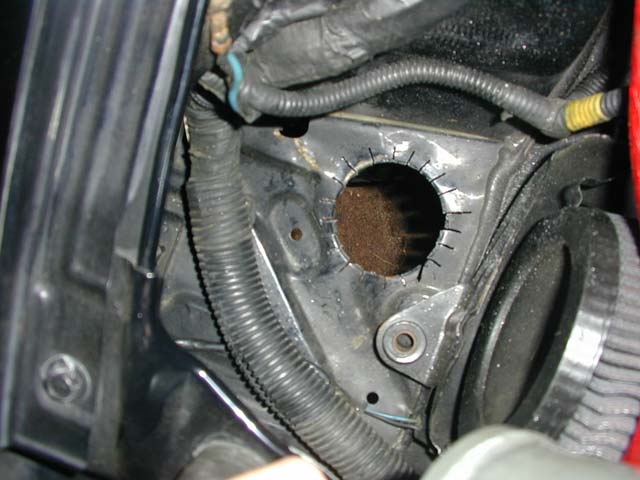
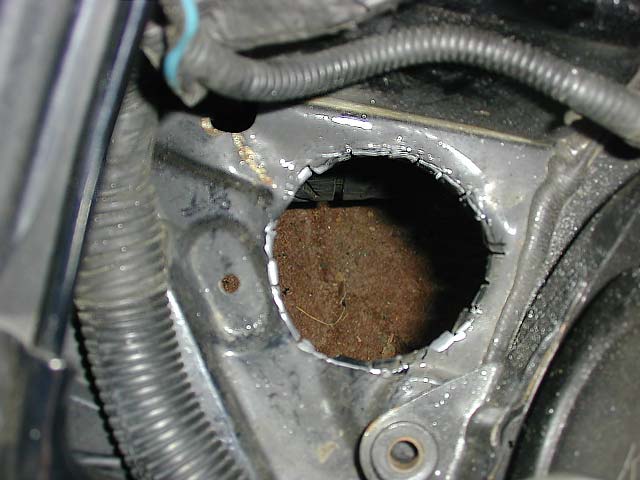
You can open up the hole in the inner fender for additional clearance. This helps give room to allow the hose instead of the pipe to come thru. Just cut a ray pattern... |
|
|
Then pry the tabs down so there are no sharp edges, sand and paint.
|
|
|
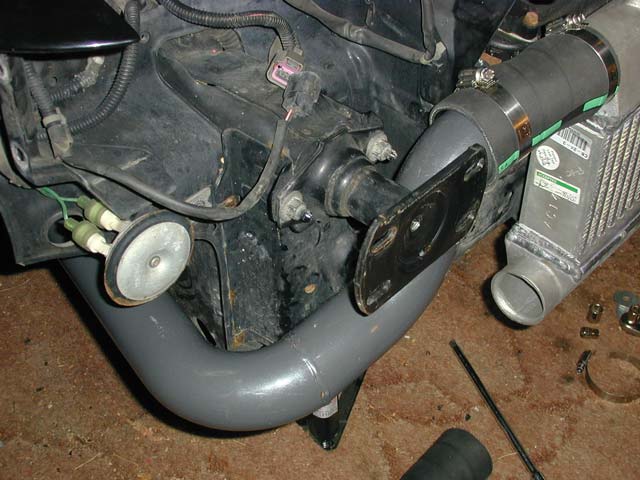
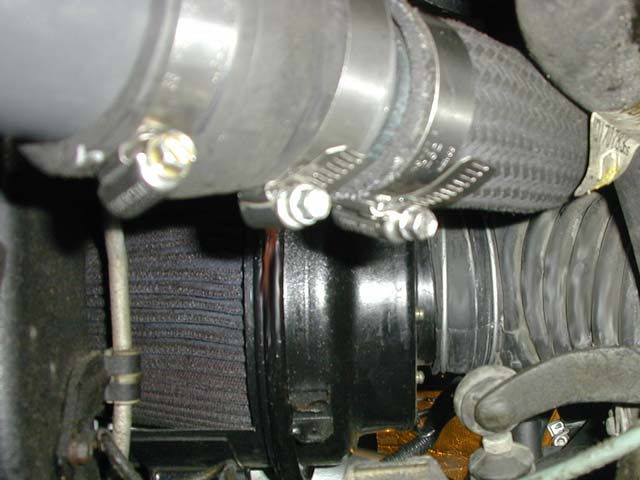
Connect the lower piping and hose connections from the bottom of the intercooler to the turbo inlet. |
|
|
We assume you still have a stock lower hose running from the turbo outlet to where the stock I/C was. We supply an adapter to neck down to this stock hose. If/when you upgrade this hose to a larger 2 1/4" pipe, remove the adapter and connect directly to the RRE 2 1/4" lower pipe. (shown here looking up from the bottom) |
|
|
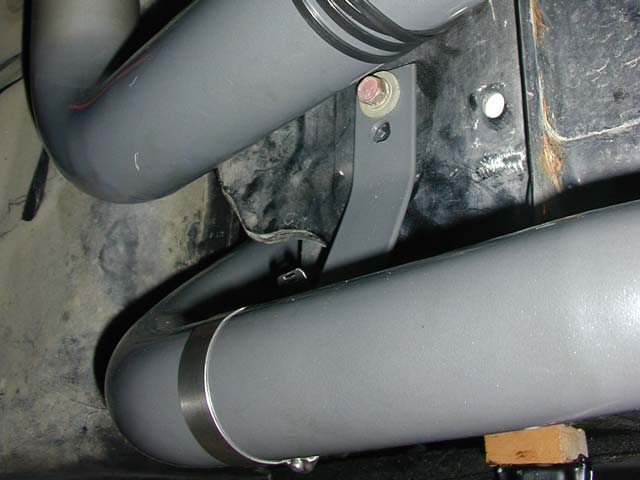
Use the "T" shaped bracket to support and connect the lower pipe to the frame rail area. Use one of the 8mm x 1.25 (12mm head) bolts from the stock intercooler. The bracket attaches to the lower pipe with a hose clamp |
|
|
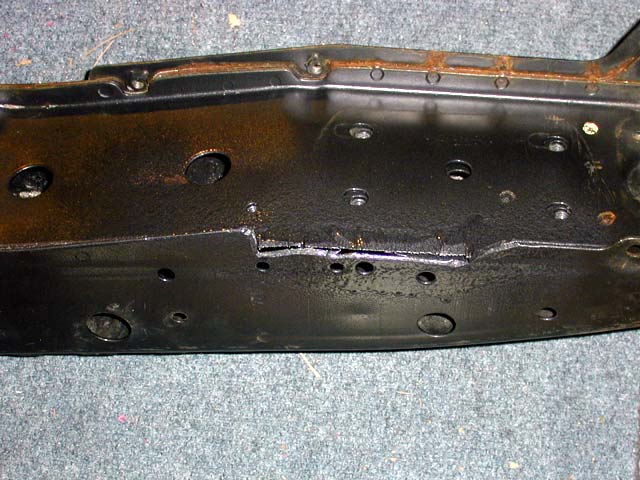
Trim the bumper reinforcement on the passenger side. The metal is hardened. A cutting torch works well. You can also use a Sawzall or Tiger Saw to trim it. In a pinch, a standard Jig Saw will do it.
|
|
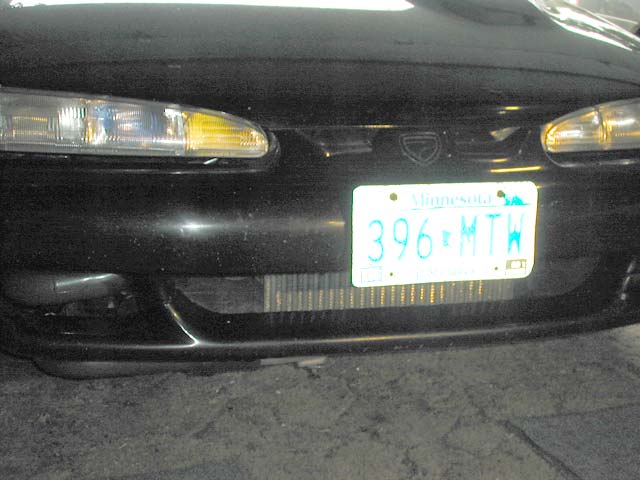
Reinstall the bumper fascia... you may wish to install a grill of some sort... this installation used fiberglass netting |
|
|
|
Done and ready to race! |
