![]()
![]()
(click on any images to enlarge)
Original Documentation
![]()
Contents
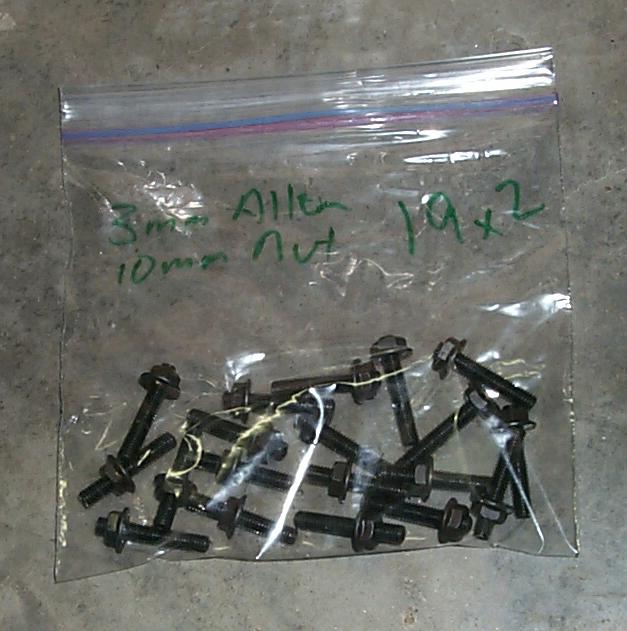
(make sure to count all the nuts and bolts prior to installation)
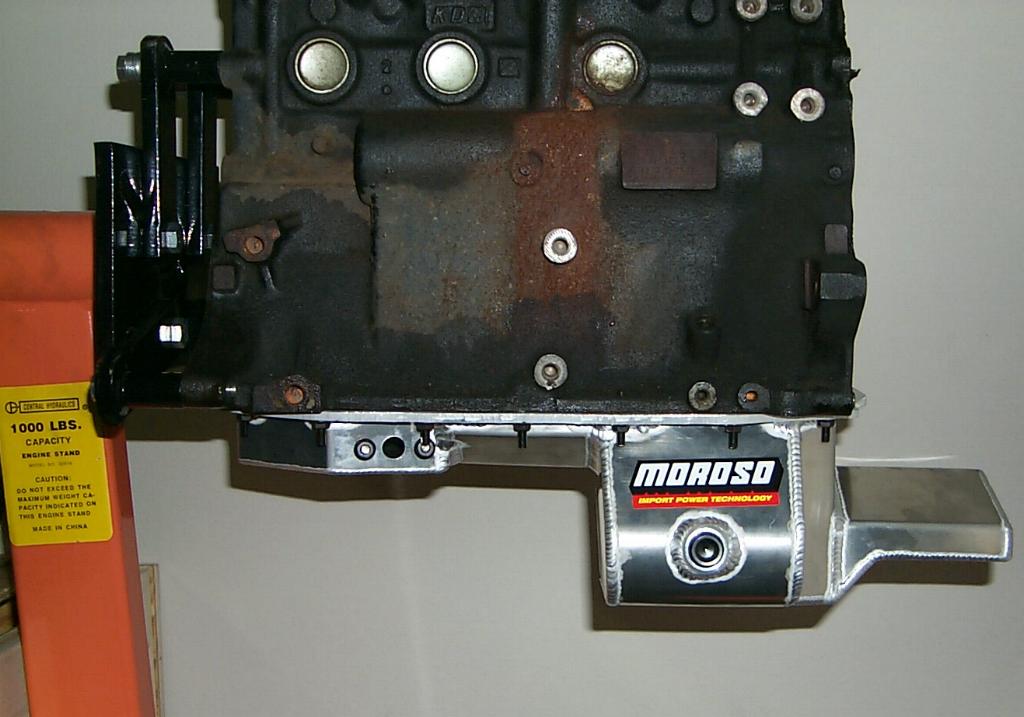
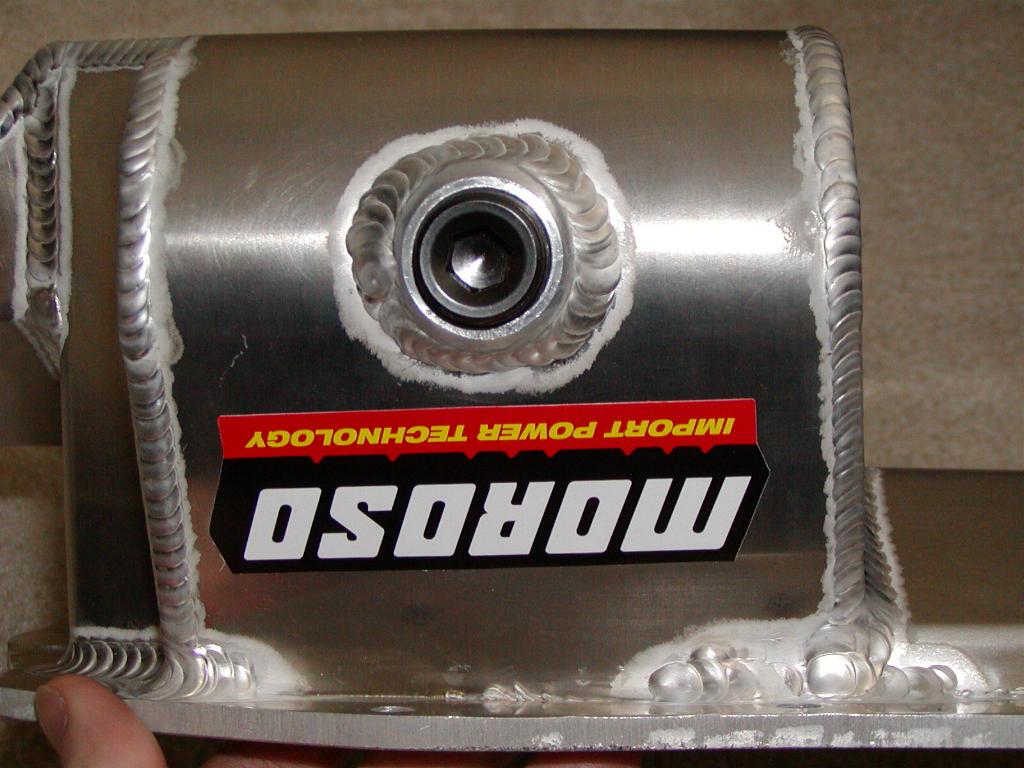
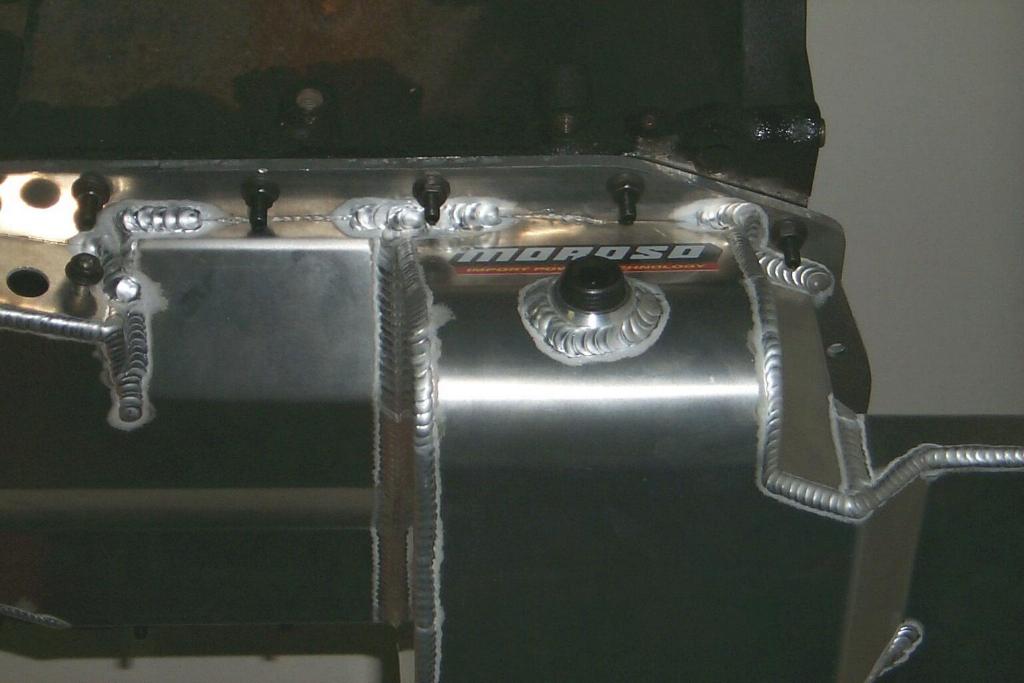
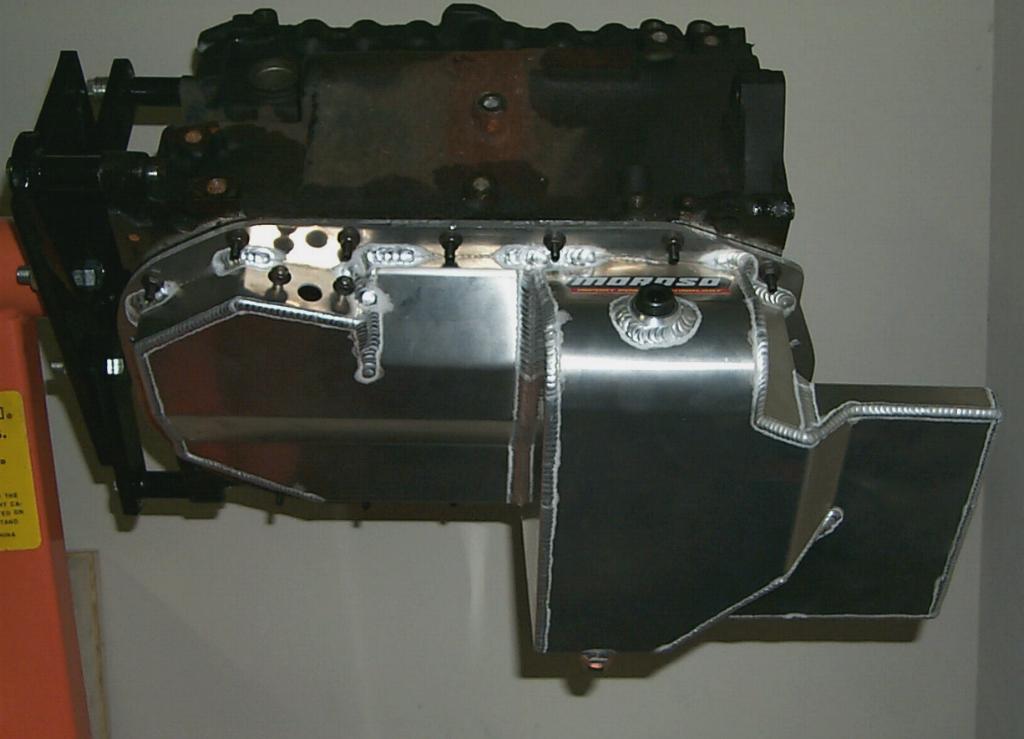
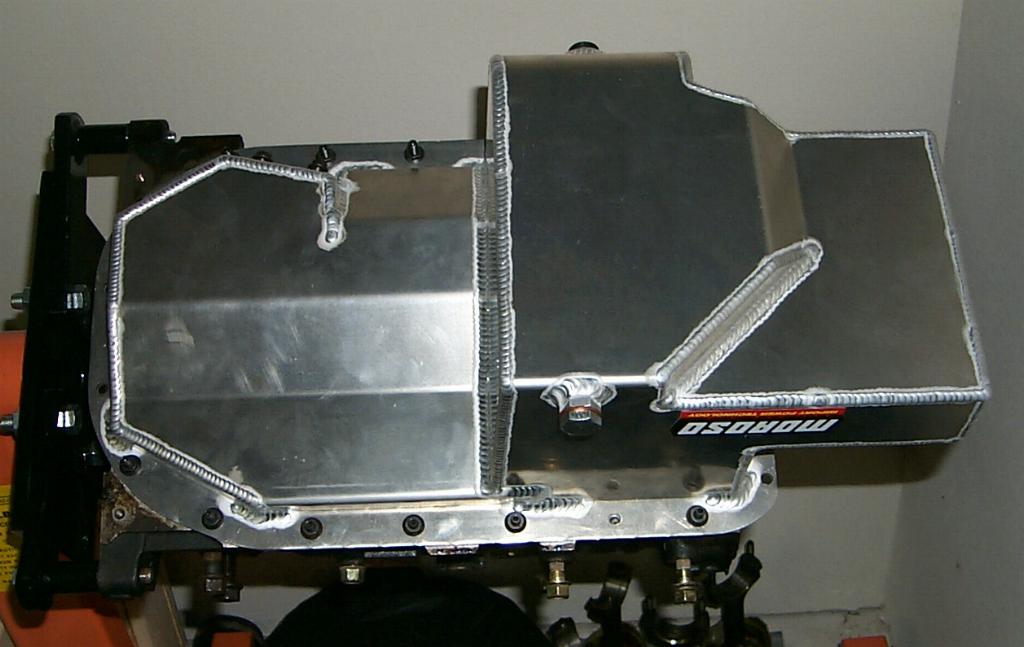
Moroso Oil Pan x1
3mm Allen Head Studs x19
10mm Nuts x19
Installation Procedures
1. Remove exhaust down pipe. If All Wheel Drive model, remove transfer case and unbolt axle bearing carrier as well.
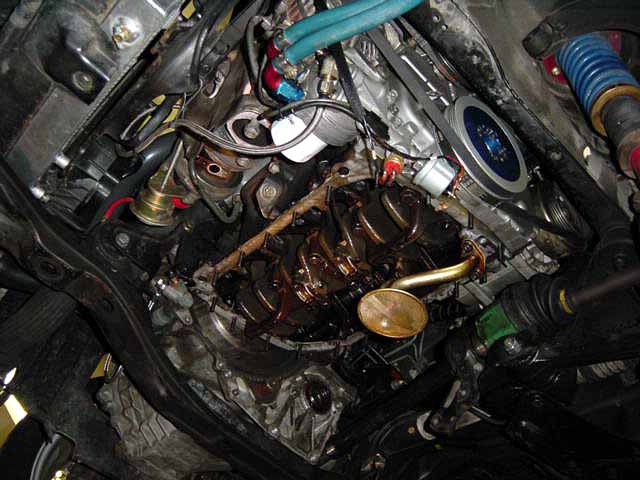
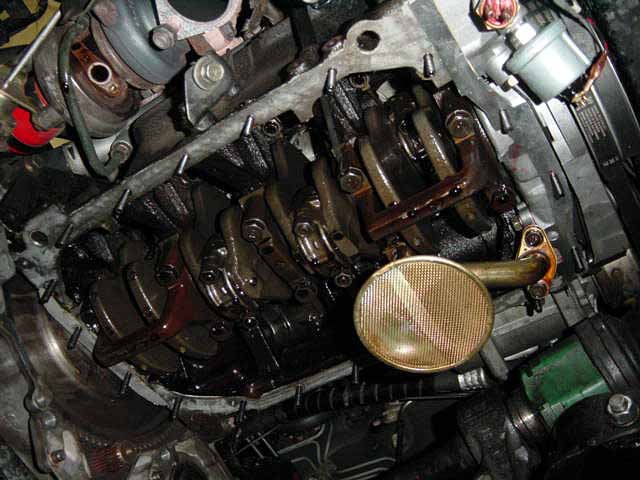
2. Remove factory oil pan bolts.
2. Take a thin wide screw driver and insert it between the stock pan and the surface of the block. Take care not to chew up the block side. Work your way around until the pan begins to fall down.
 |
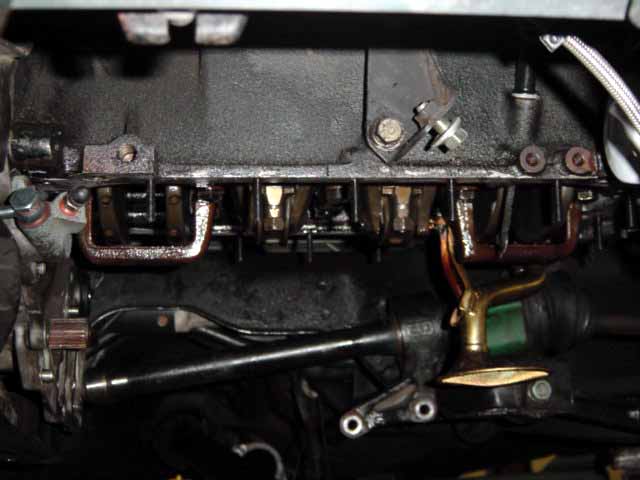 |
3. Clean surface with a new razor blade. You might want to have a few new ones as they dull pretty quickly. Most shops recommend using a 3M plastic brush with a die grinder in place of the metal wire brush outlined in the shop manual. You can also assist the removal of the old RTV with some gasket remover.
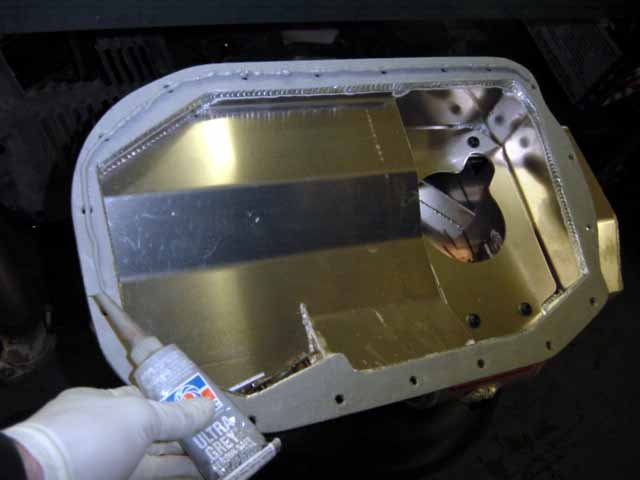
4. Once the surface is clean take a clean rag and some brake parts cleaner to ensure the surface on the block is clean. You should also wipe down the edges of the new oil pan.
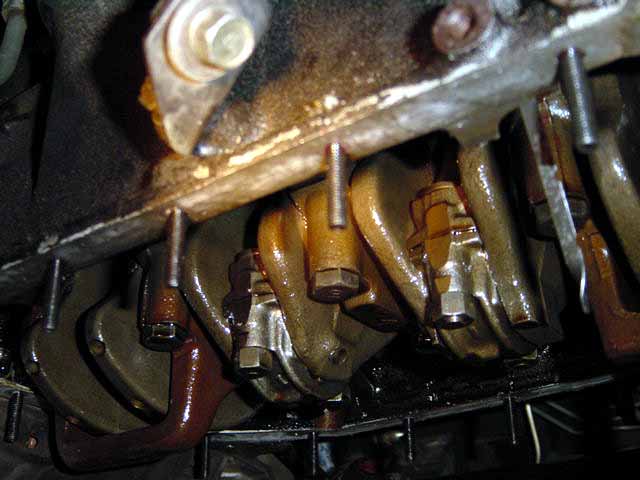
5. You should now install the studs into the block of the motor. Use a 3mm Allen wrench to assist. You should use a little dab of thread lock to keep them from backing out. (Be sure not to run the bolt too far into the other end of the block where the timing belt is. Go to far and it will rub on the belt until it falls off)
 |
 |
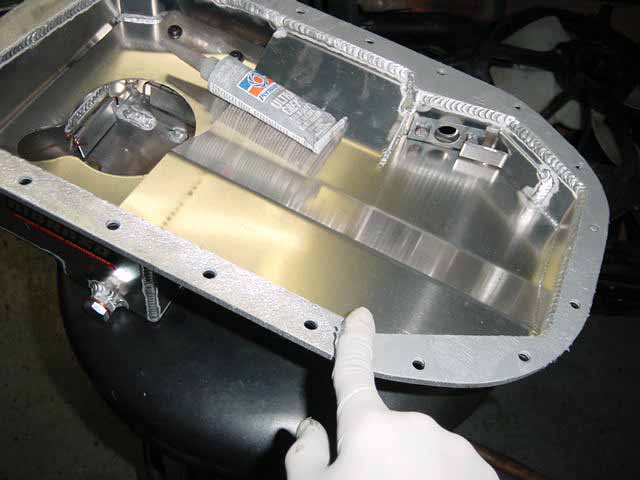
6. Once you have all the studs in place it is time to apply gasket to the surface of the pan. (If the motor is on a jack stand, rotate the motor down to its normal position. If you install upside down the trap doors in the pan will get stuck open and caught up on the oil pickup)
 |
 |
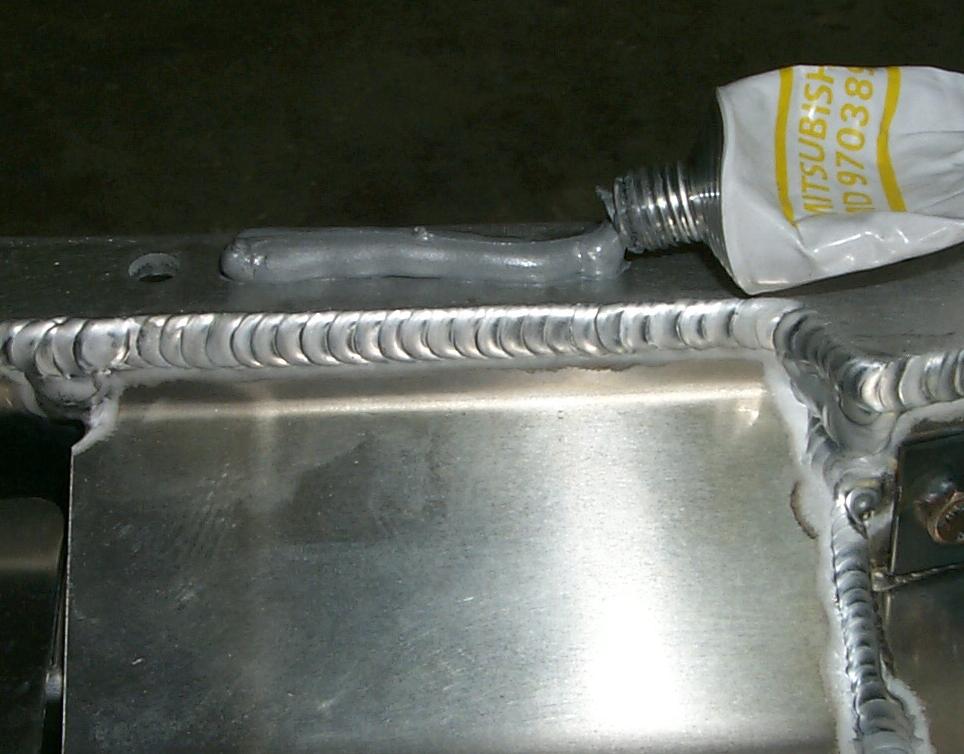
7. You should use a High Temp RTV. Most people suggest using an OEM gasket as it holds better but it costs more. Almost 5x more. Its up to you. Below I am using a Mitsubishi RTV for oil pans.

8. The object is to run the RTV down the middle of the surface and dipping inward towards the center of the pan around the bolt holes.
 |
 |
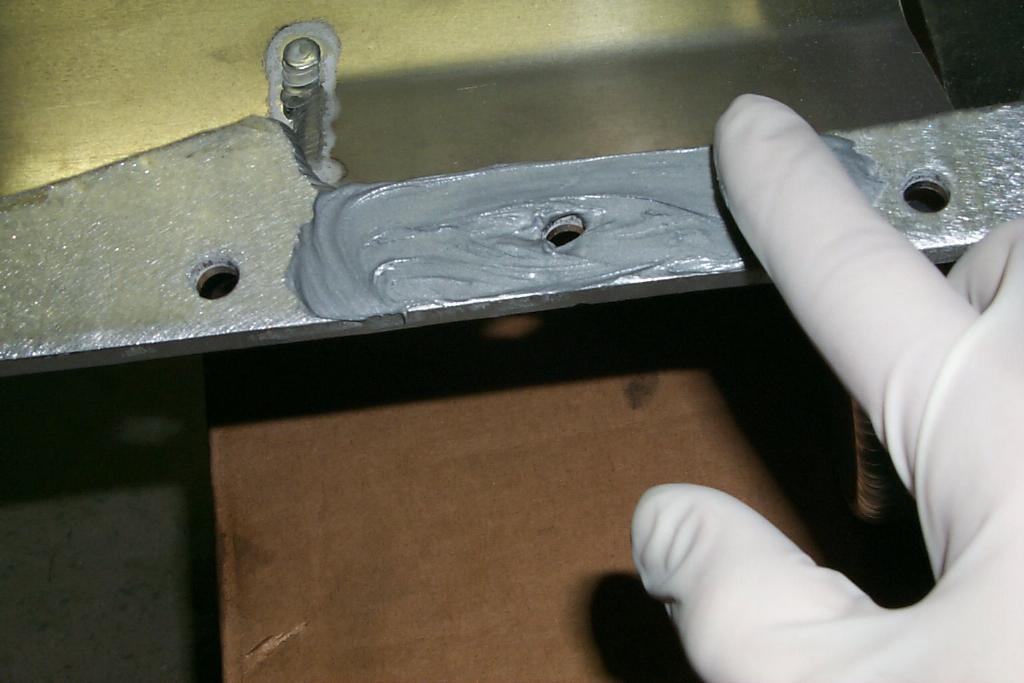
9. After the entire pan is circled in RTV I take a latex glove to spread the gasket across the entire surface.
10. Position pan over studs. It only goes on one way. The long part of the pan that sticks out will sit just under the oil pan.
11. Thread the nuts onto the studs by hand. Make sure you get all the studs.
![]()
12. Working your way out from the center torque the nuts down. I usually torque them just as the gasket meets the block. I then let it sit for 20 minutes or so then go back and torque the pan down the rest of the way. This is so the RTV doesn't squeeze out and limit the seal between the pan and the block.
13. The manual suggests not adding oil or running the car until the pan sits for 30 minutes after installation. I usually just let it sit over night just to give it time to dry.
14. This is a good time to check the oil temp bung. If you don't have a probe in there apply some Teflon tape to the threads and put the plug in its place.
15. Also check the oil drain plug. Make sure its not loose!
16. Reinstall exhaust down pipe. Transfer case too, if you got one.
17. Add oil. This pan will take up a little more space. Be sure to allow oil to settle and check the level before starting the car.
18. Once it reaches the full mark, start the car and check for leaks.
 |
 |
 |
Written for Road Race Engineering by:
Adam - Chi99GST & 91 TSI AWD
www.ecanfix.com/~aclifford
www.ecanfix.com/~aclifford/mods.htm
Contact Road///Race Engineering
13022 La Dana Ct.
Santa Fe Springs, Ca. 90670
Tel (562) 777-1522 Fax (562) 777-1562